As many of you know, I got a slow cooker for Christmas, so I’ve been looking for any excuse to use it. I think I’ve decided that I’m going to do one meal a week using it because it’s so convenient! This recipe comes from the Hungry for Change cookbook. Are you surprised? A note from the book about this meal: “This is a particularly nutrient-dense meal. When cooked at such a low temperature, the meat is more tender, the nutrients are retained, the proteins are undamaged, and the fats are protected from oxidation. Cooking meats on the bone adds additional minerals and gelatin to the dish. We recommend using beef rather than veal, for ethical reasons, and meat that is grass-fed and -finished, from cows raised more naturally, grazing in open pastures in full sunlight”.
 The meat I used was Whole Foods level 4 which is almost the best.
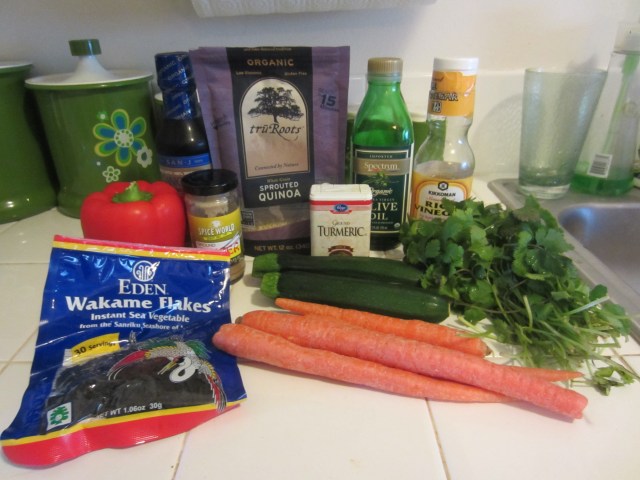
1 tablespoon butter
2 yellow onions, finely chopped
2 celery stalks, finely chopped
2 carrots, finely chopped
3 garlic cloves, chopped
2 teaspoons unrefined sea salt
8 anchovies, bottled in olive oil or brine, drained
4 bay leaves
1 whole cinnamon stick, snapped in half
2 fresh thyme sprigs or 1 teaspoon dried thyme
3/4 cup red or dry white wine (organic, sulfur-free, or containing minimal sulfur: 220/202)
4 ripe tomatoes or 1 cup tomato puree out of a glass bottle
1/2 cup spring or filtered water
4 or 5 shank cuts of grass-fed and -finished beef osso buco (they don’t usually have these in the case but if you ask they generally have them in the back)
1/2 teaspoon freshly ground black pepper
Fresh flat leaf parsley, chopped, for garnish

Preheat the oven to 195 degrees. (I didn’t feel comfortable leaving my gas oven on all day while I was at work so I used my slow cooker instead. It turned out perfect!)
Melt the butter in a large cast-iron pot set over low heat. Add the onions, celery, carrots, garlic, and salt, and gently saute until everything is soft and the onions are translucent. Add the anchovies, mashing them into the base of the pot with the back of a wooden spoon until the anchovies begin to melt. If you omit them, add more of the unrefined sea salt.
Add the bay leaves, cinnamon stick pieces, and thyme, and pour in the wine. Increase the heat slightly and gently simmer everything for another couple of minutes. The alcohol will cook out and the liquid will reduce slightly. Then add the tomatoes, the water, and the pepper, stirring thoroughly to incorporate, and remove the pot from heat.
Gently add the beef pieces and submerge them in the liquid and vegetables until they are positioned at the bottom of the mixture. (I put the meat pieces in my slow cooker and poured the veggie mixture over them). Cover and place in the oven. Cook for 10 to 12 hours (I just set my slow cooker to 10 hours and it did the temp and everything for me). (For quicker cooking time set, the oven to 250 degrees. It will be ready in 6 to 8 hours).
The osso buco is ready when it’s tender and easily comes away from the bone. Serve with its nutrient-rich sauce spooned over each piece and a generous sprinkling of chopped parsley as a garnish (I totally forgot about the garnish). If desired, pair the osso buco with a simple green salad, or sauerkraut to aid in digestion. And don’t forget to eat the marrow!

This was another big win from this book. It was SOOOOO yummy! And so easy to do. I did the prep the night before and kept it in my fridge and then put it all in my slow cooker the next morning. I came home from work to a house that smelled amazing and dinner that was already ready for me! Happy cooking!
 2 tablespoons coconut oil
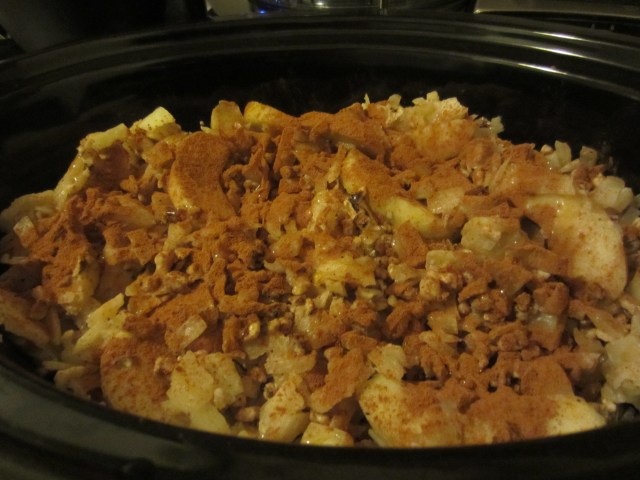 1. Turn you slow cooker on high so it can warm up.
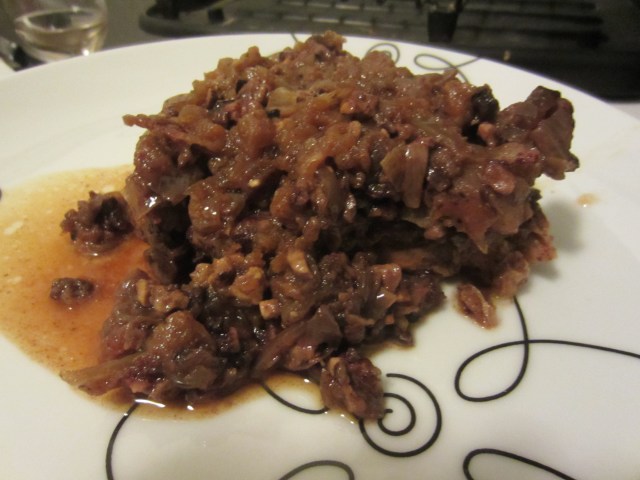 I’ve never had a slow cooked pork chop and I really like it. I hope you do too. Happy cooking!